超声波传感器外壳
Ultrasonic Sensor Housing
2023-06-22 02:15:52
使用说明
- 所有模型资源均由用户上传分享,内容来源于网络公开资源
- 侵权投诉:通过抖音私信 @jobsfan 联系我们(需附版权证明),24小时内处理
- 模型将通过邮件发送(5分钟内自动发送),感谢理解带宽压力,超过1小时没收到,请联系我们
关于费用
我们是爱好者共建社区,为维持服务器成本,每个模型收取微量费用(仅覆盖基础开支)。我们承诺最低成本运营,感谢您的支持!
扫码手机访问
抖音私信 @jobsfan

Summary
Ultrasonic Sensor Housing
Things you'll need:
- Ultrasonic Sensor
- Servomotor with levers
- Led strip
- 16 grams of pla filament
Steps to assemble the housing:
Step 1:
- Download and print these parts on your 3d printer.
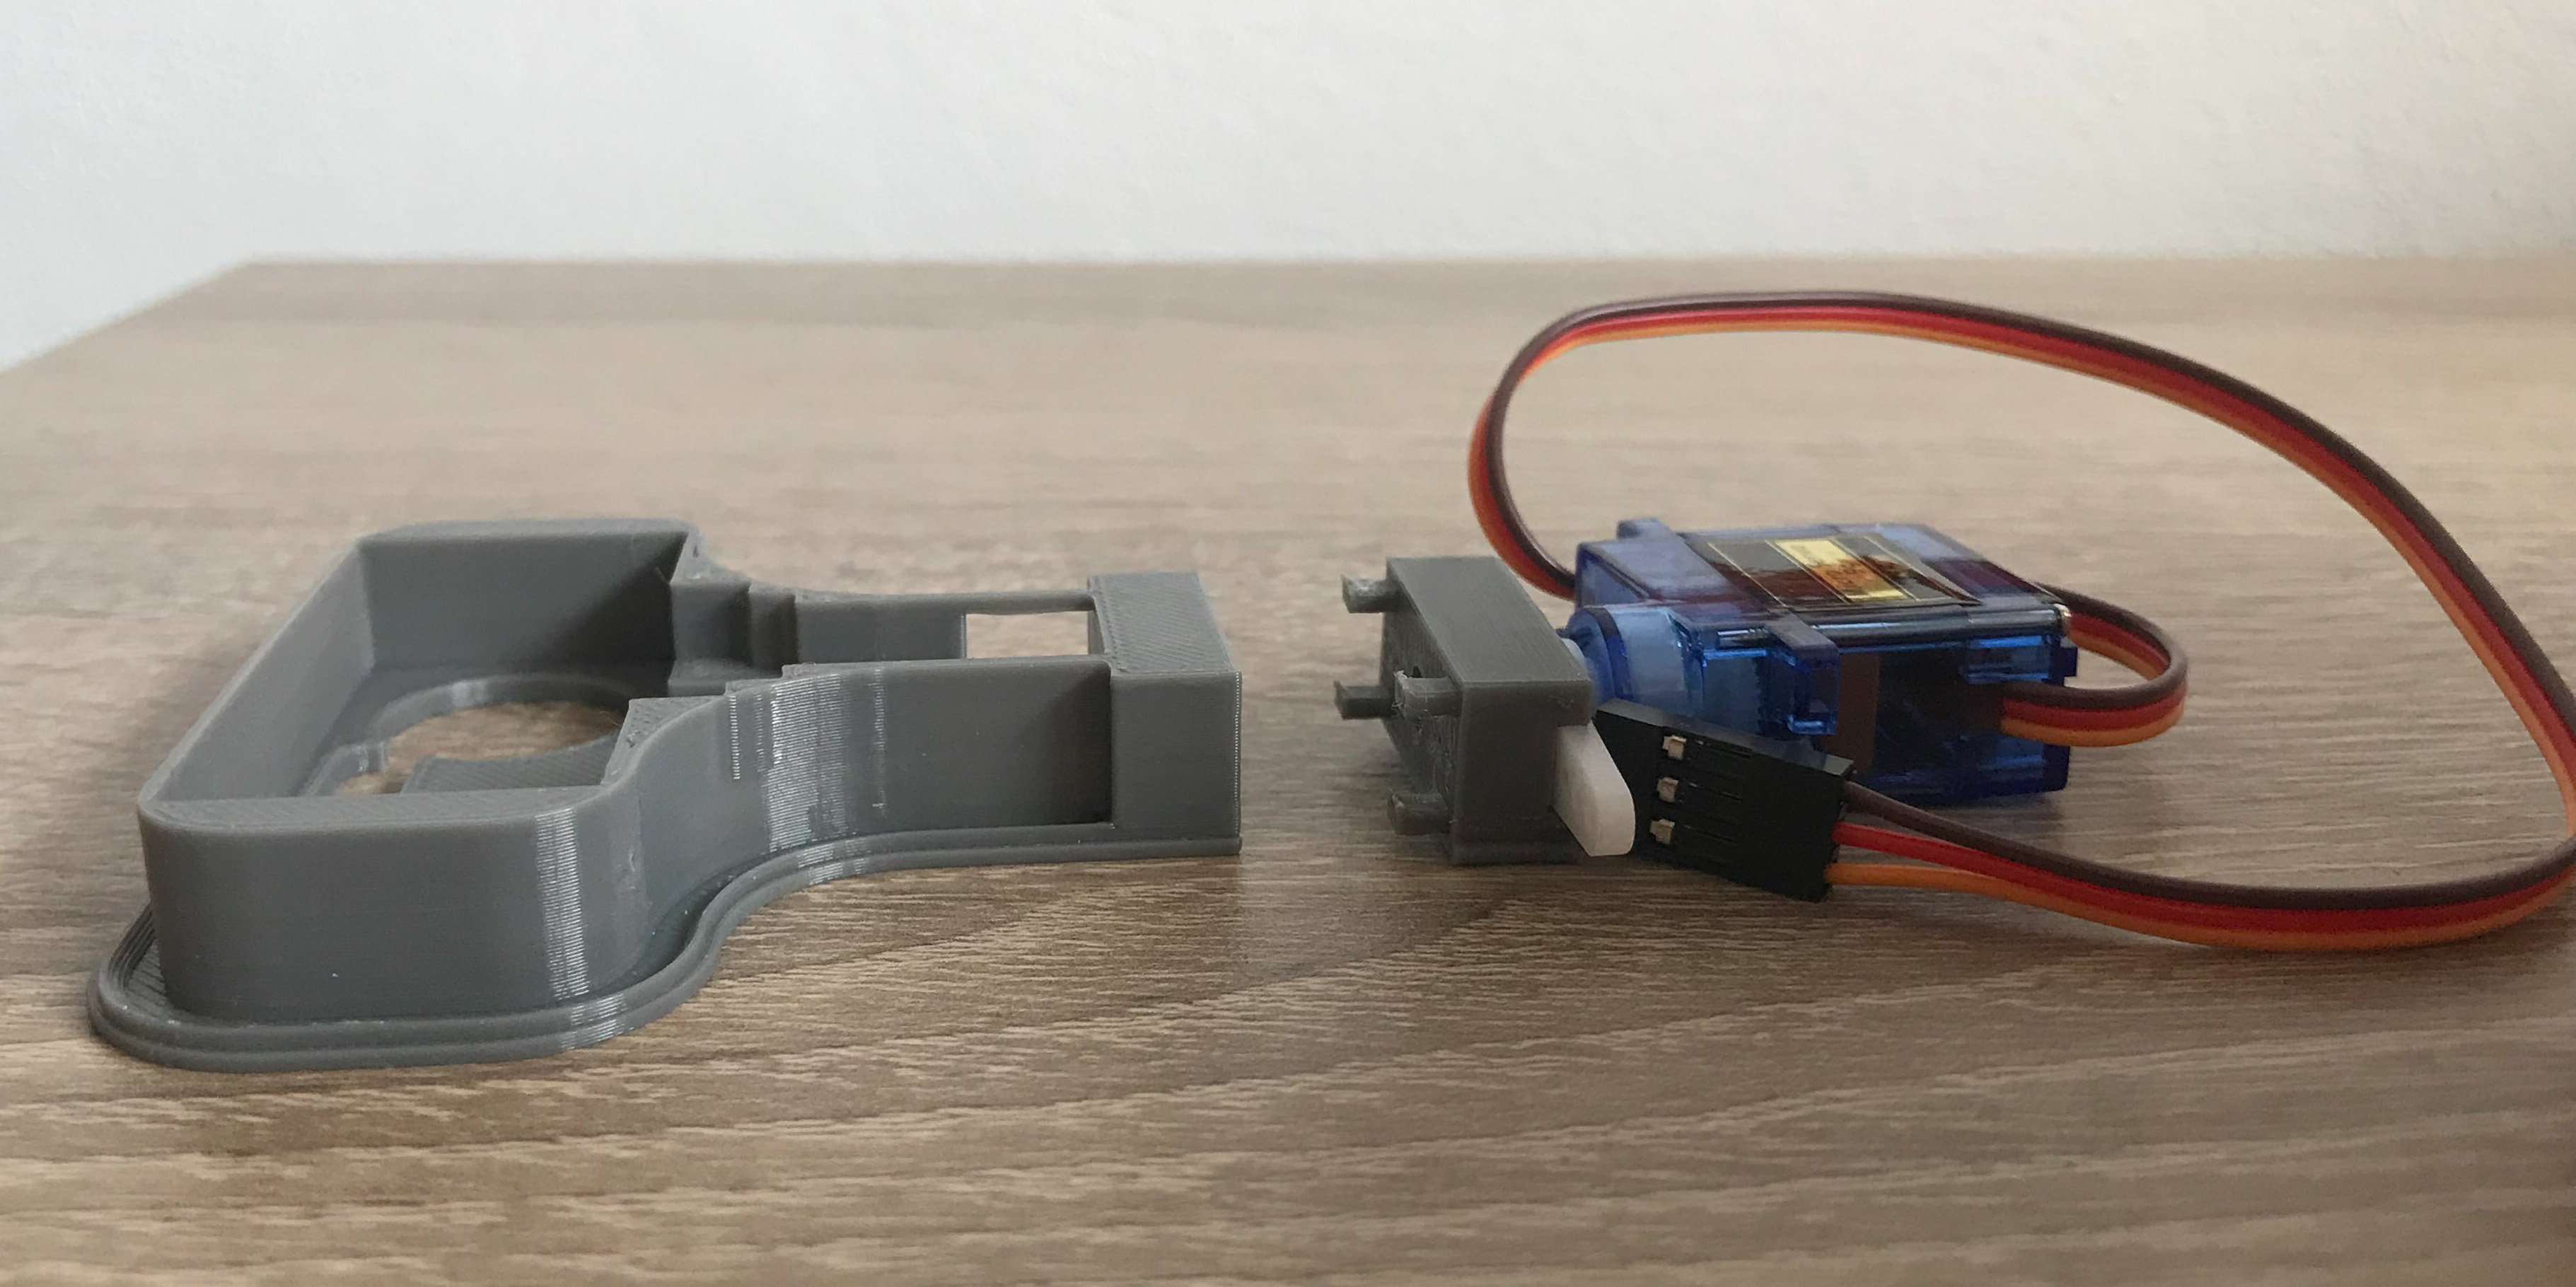
Step 2:
-
After printing, attach the servo to the bracket:
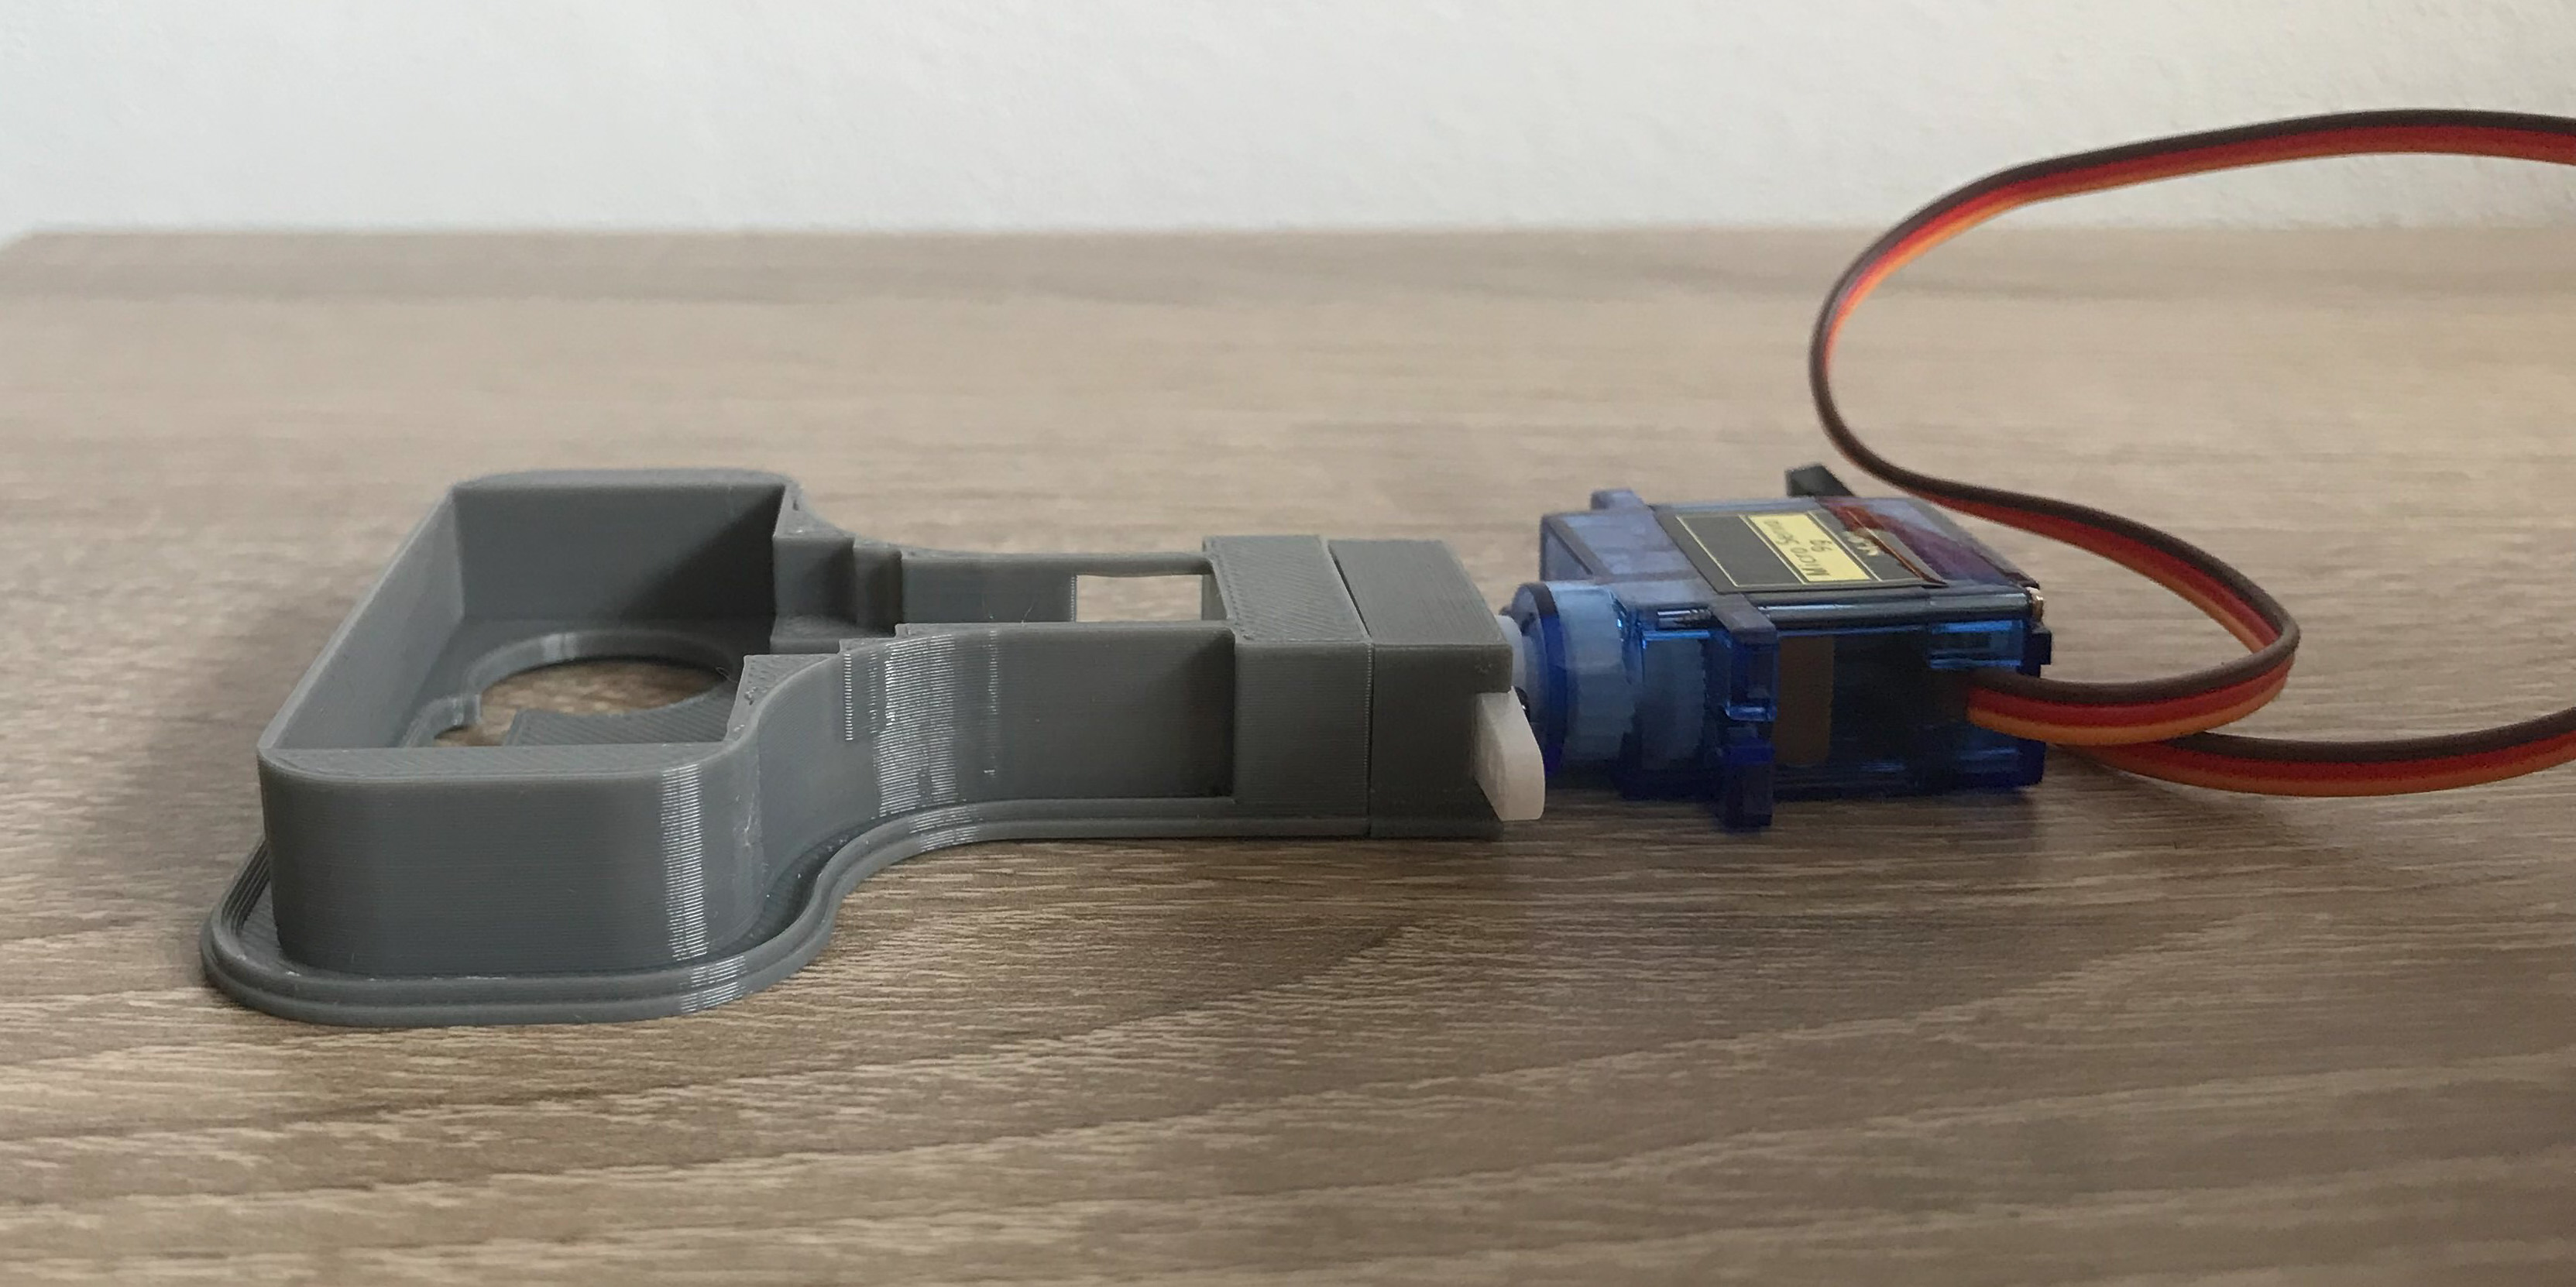
Step 3:
-
Next, attach the bracket to the sensor:
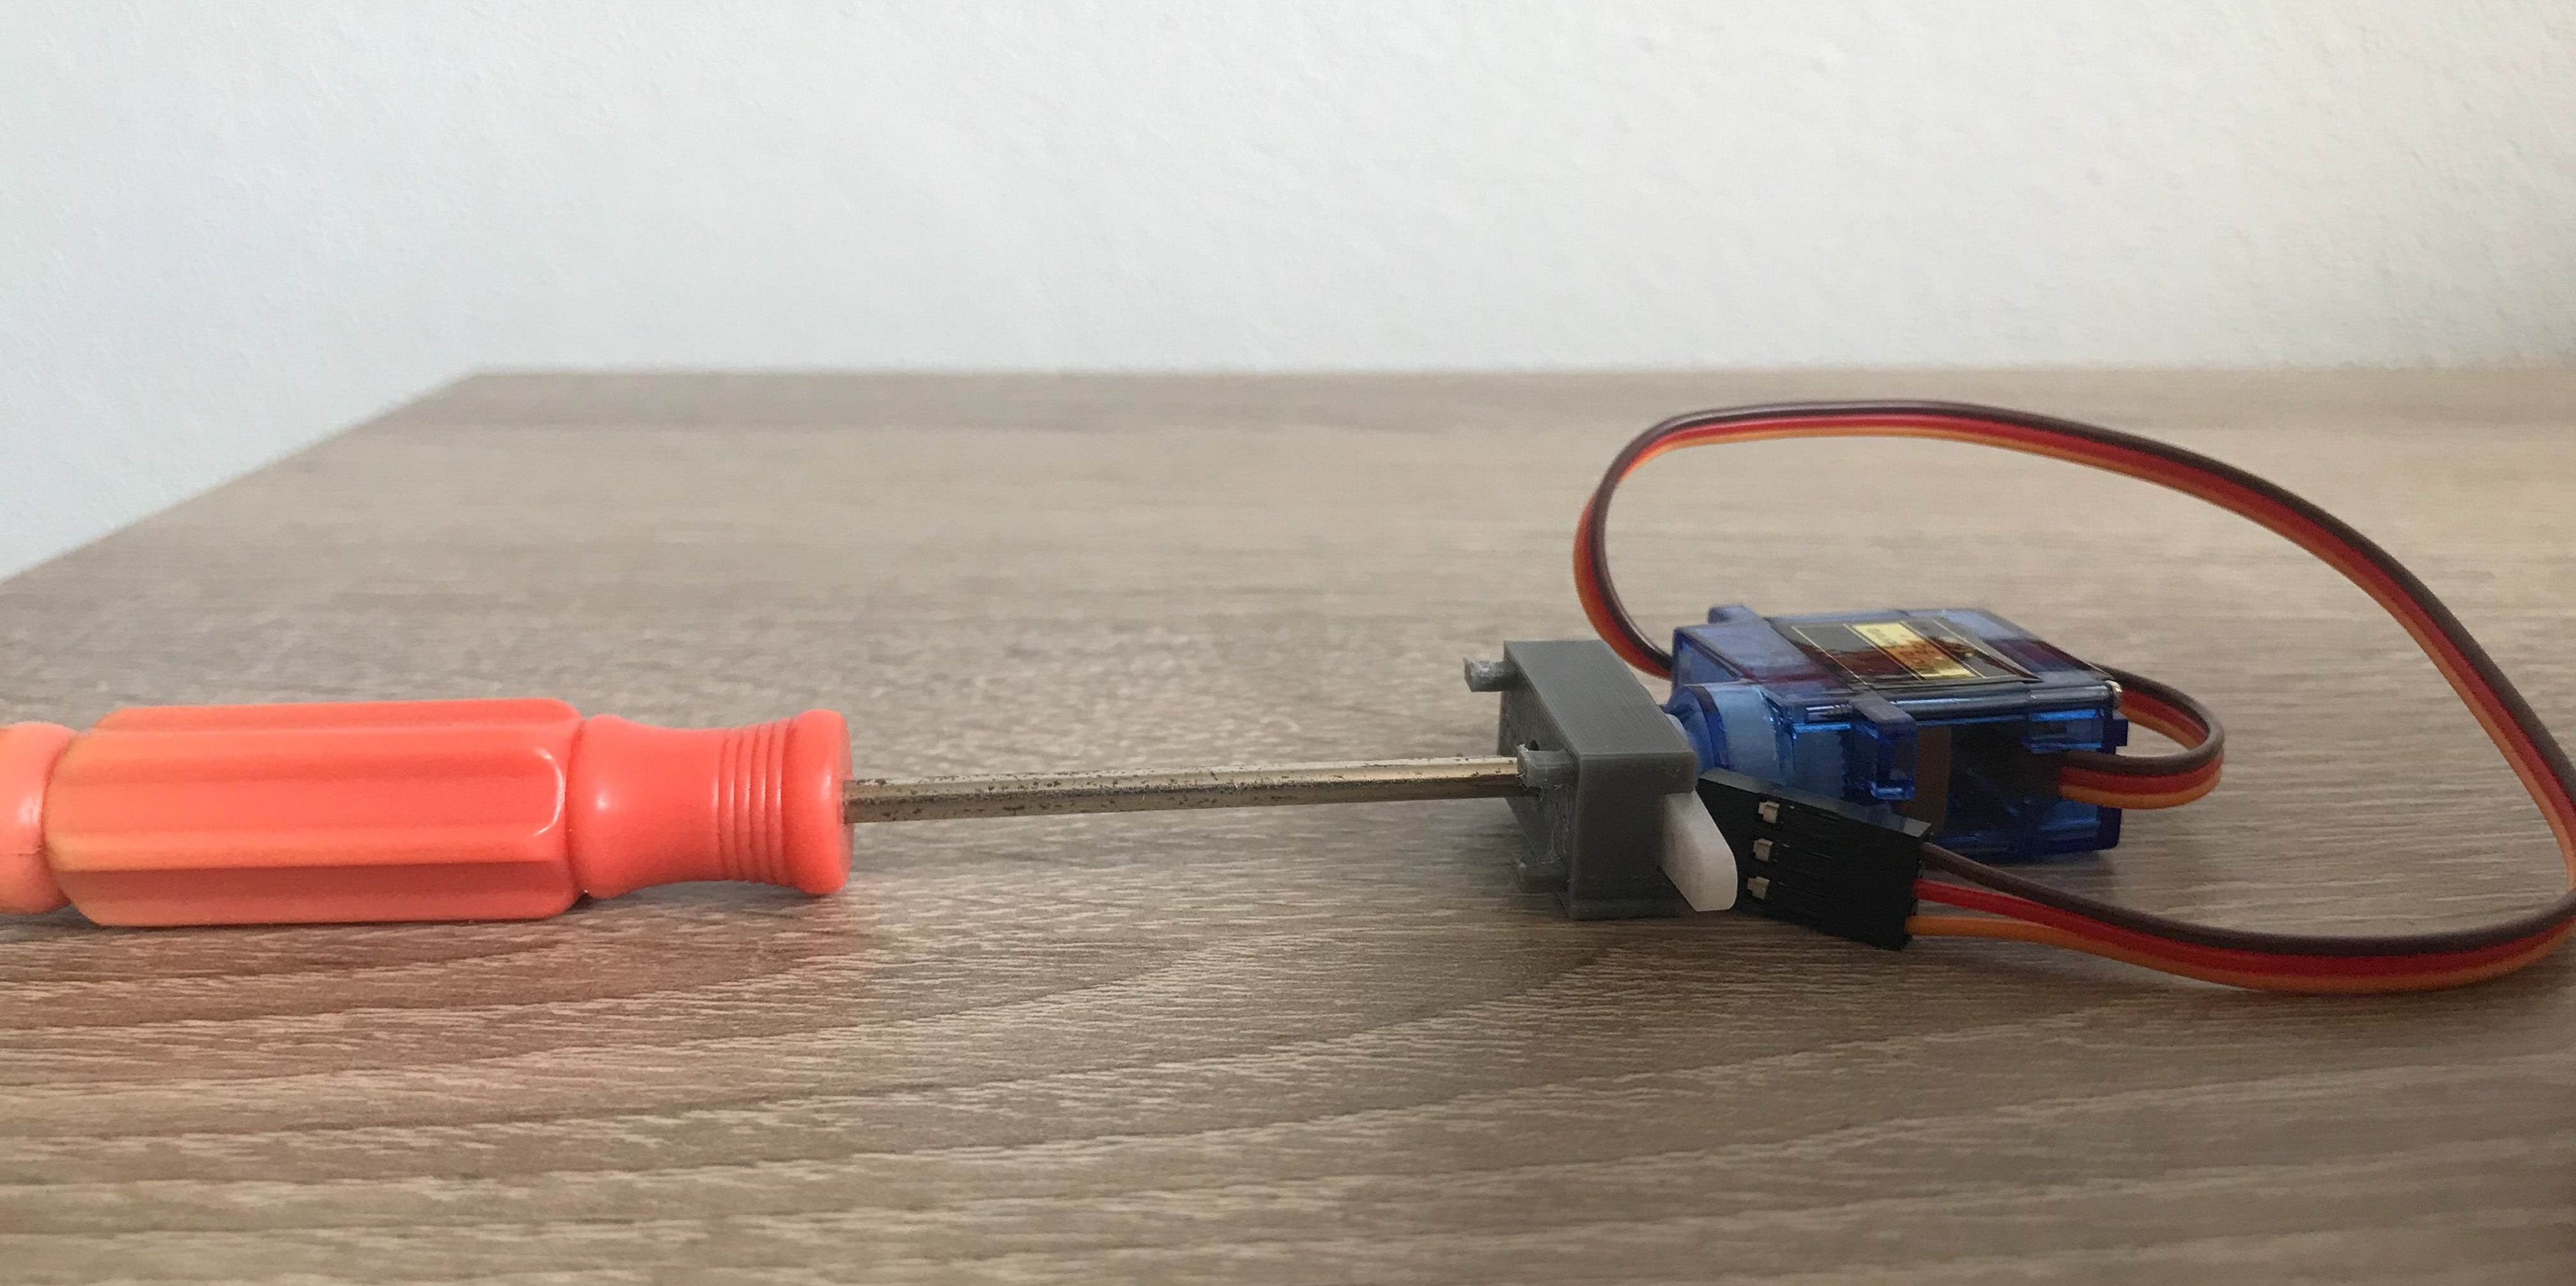
Step 4:
-
Next, push the mount onto the sensor and don't be afraid to apply a little pressure:
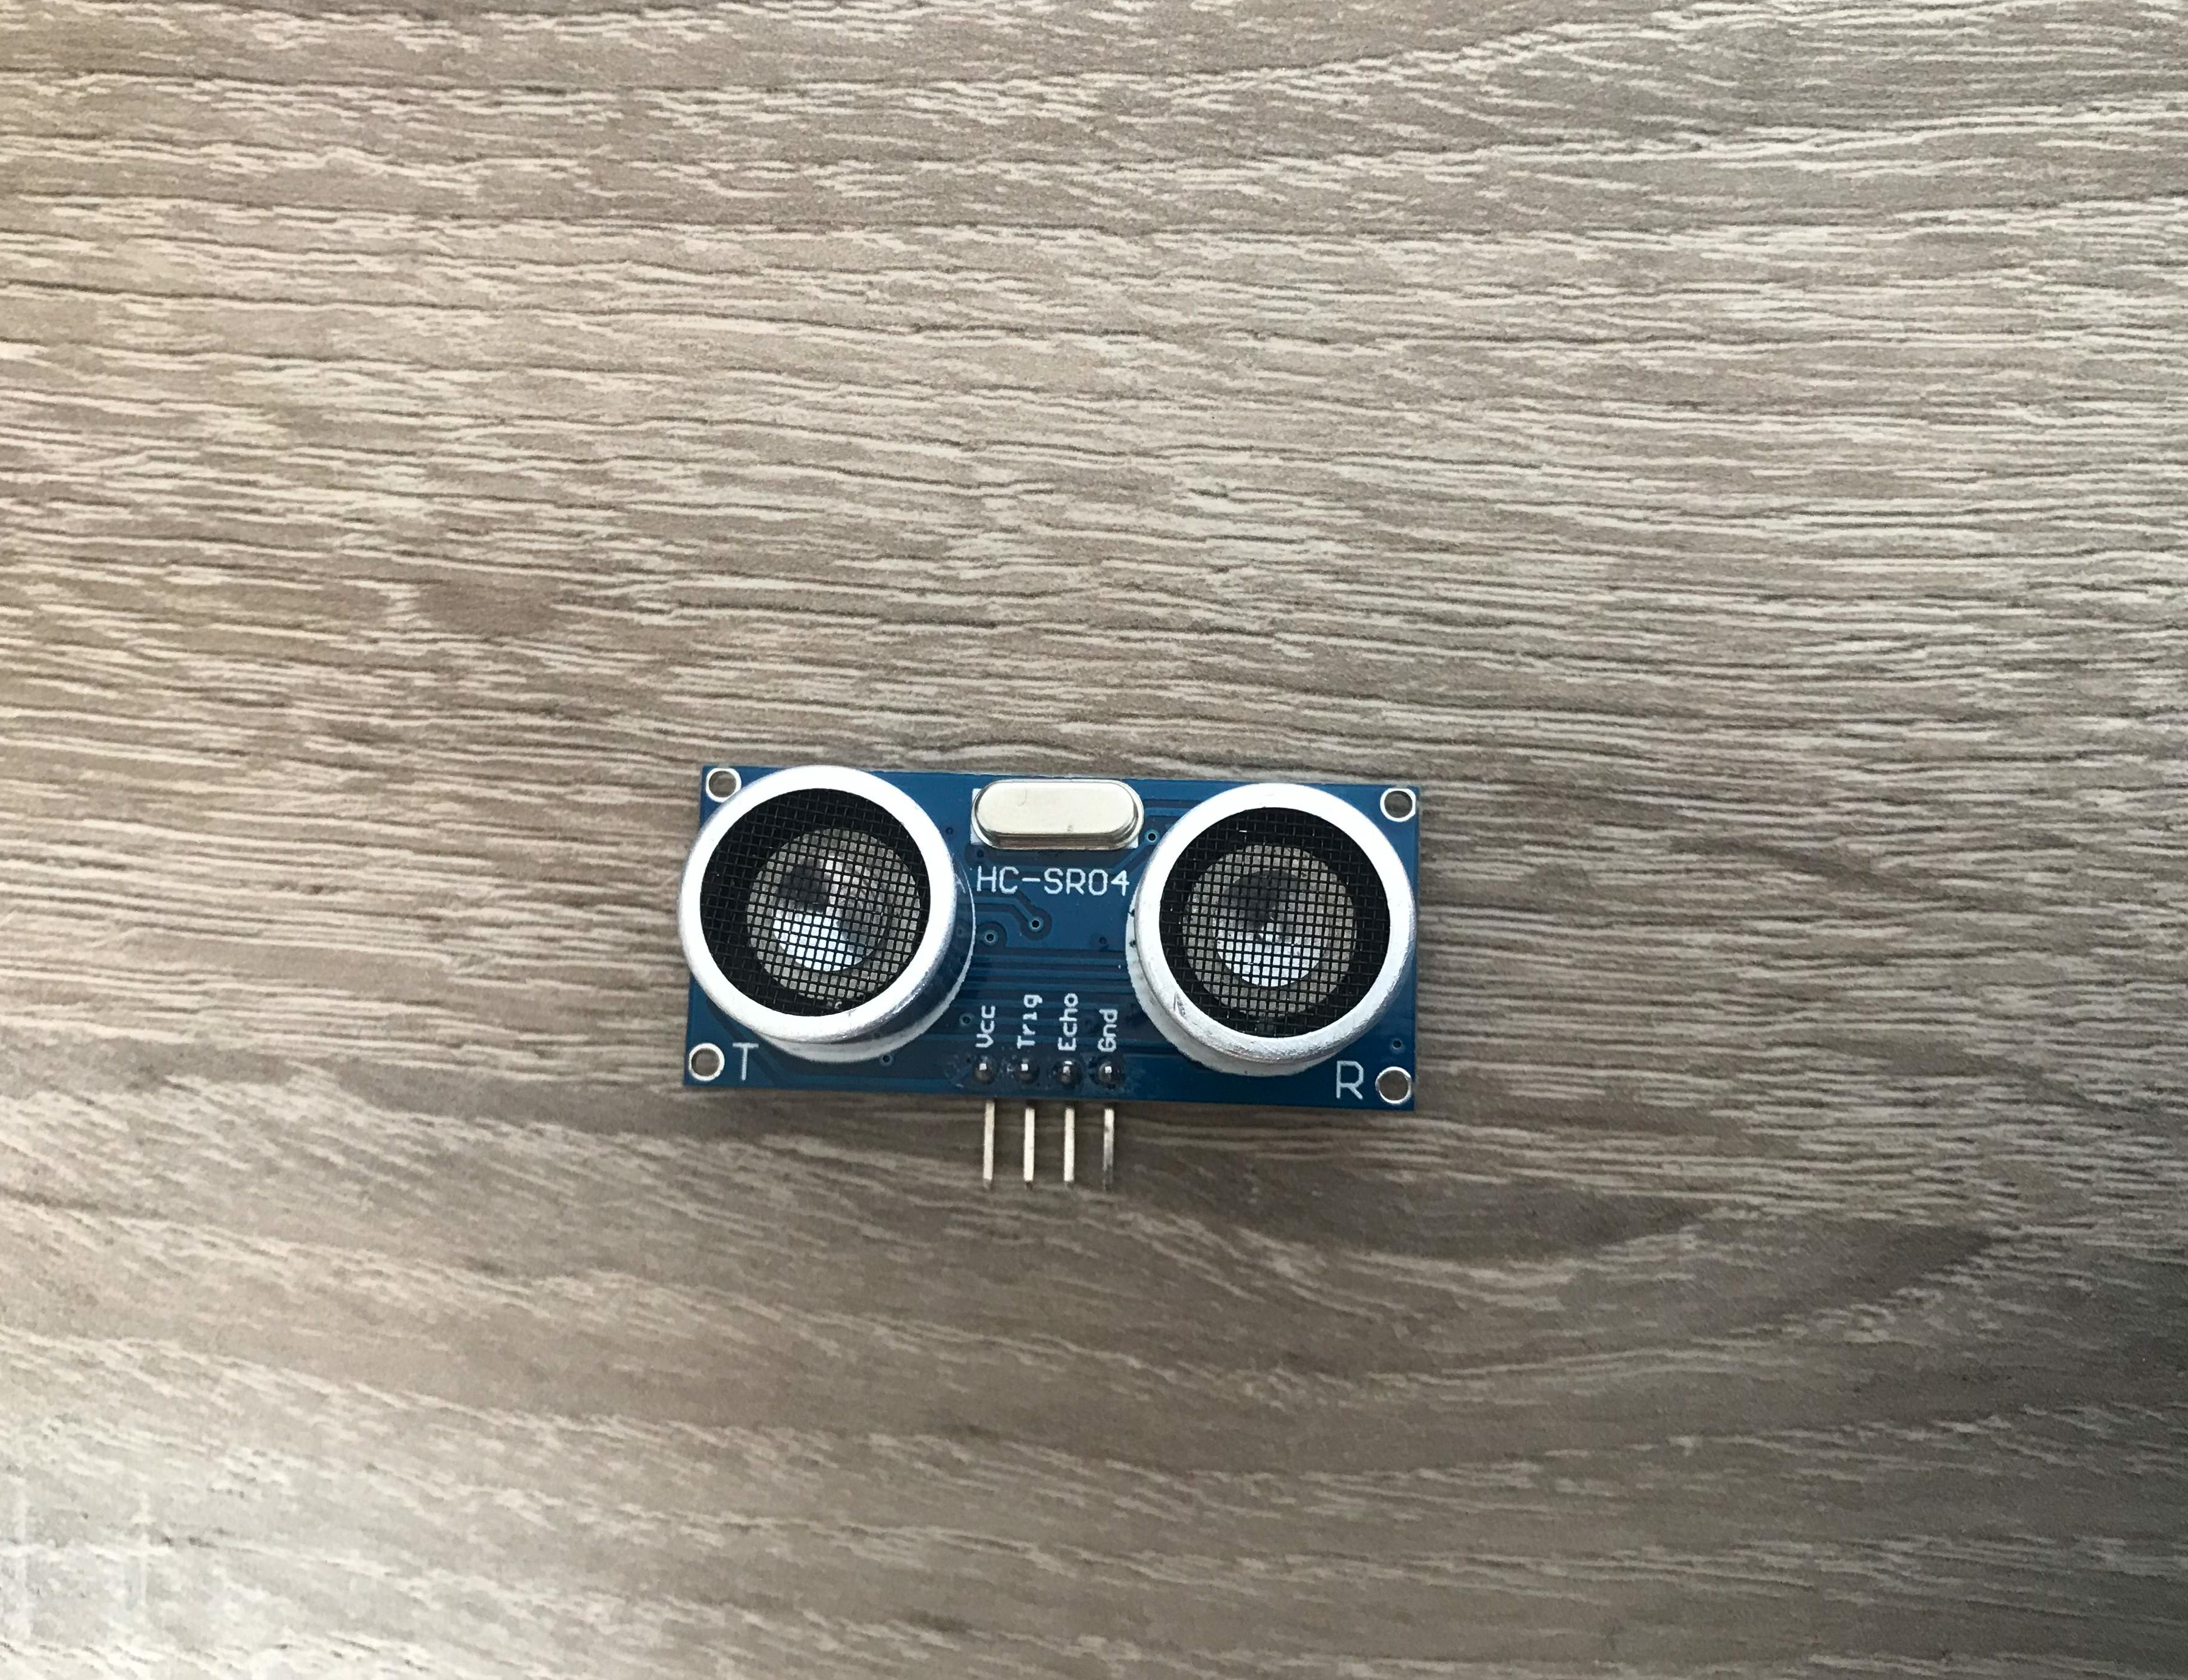
Step 5:
-
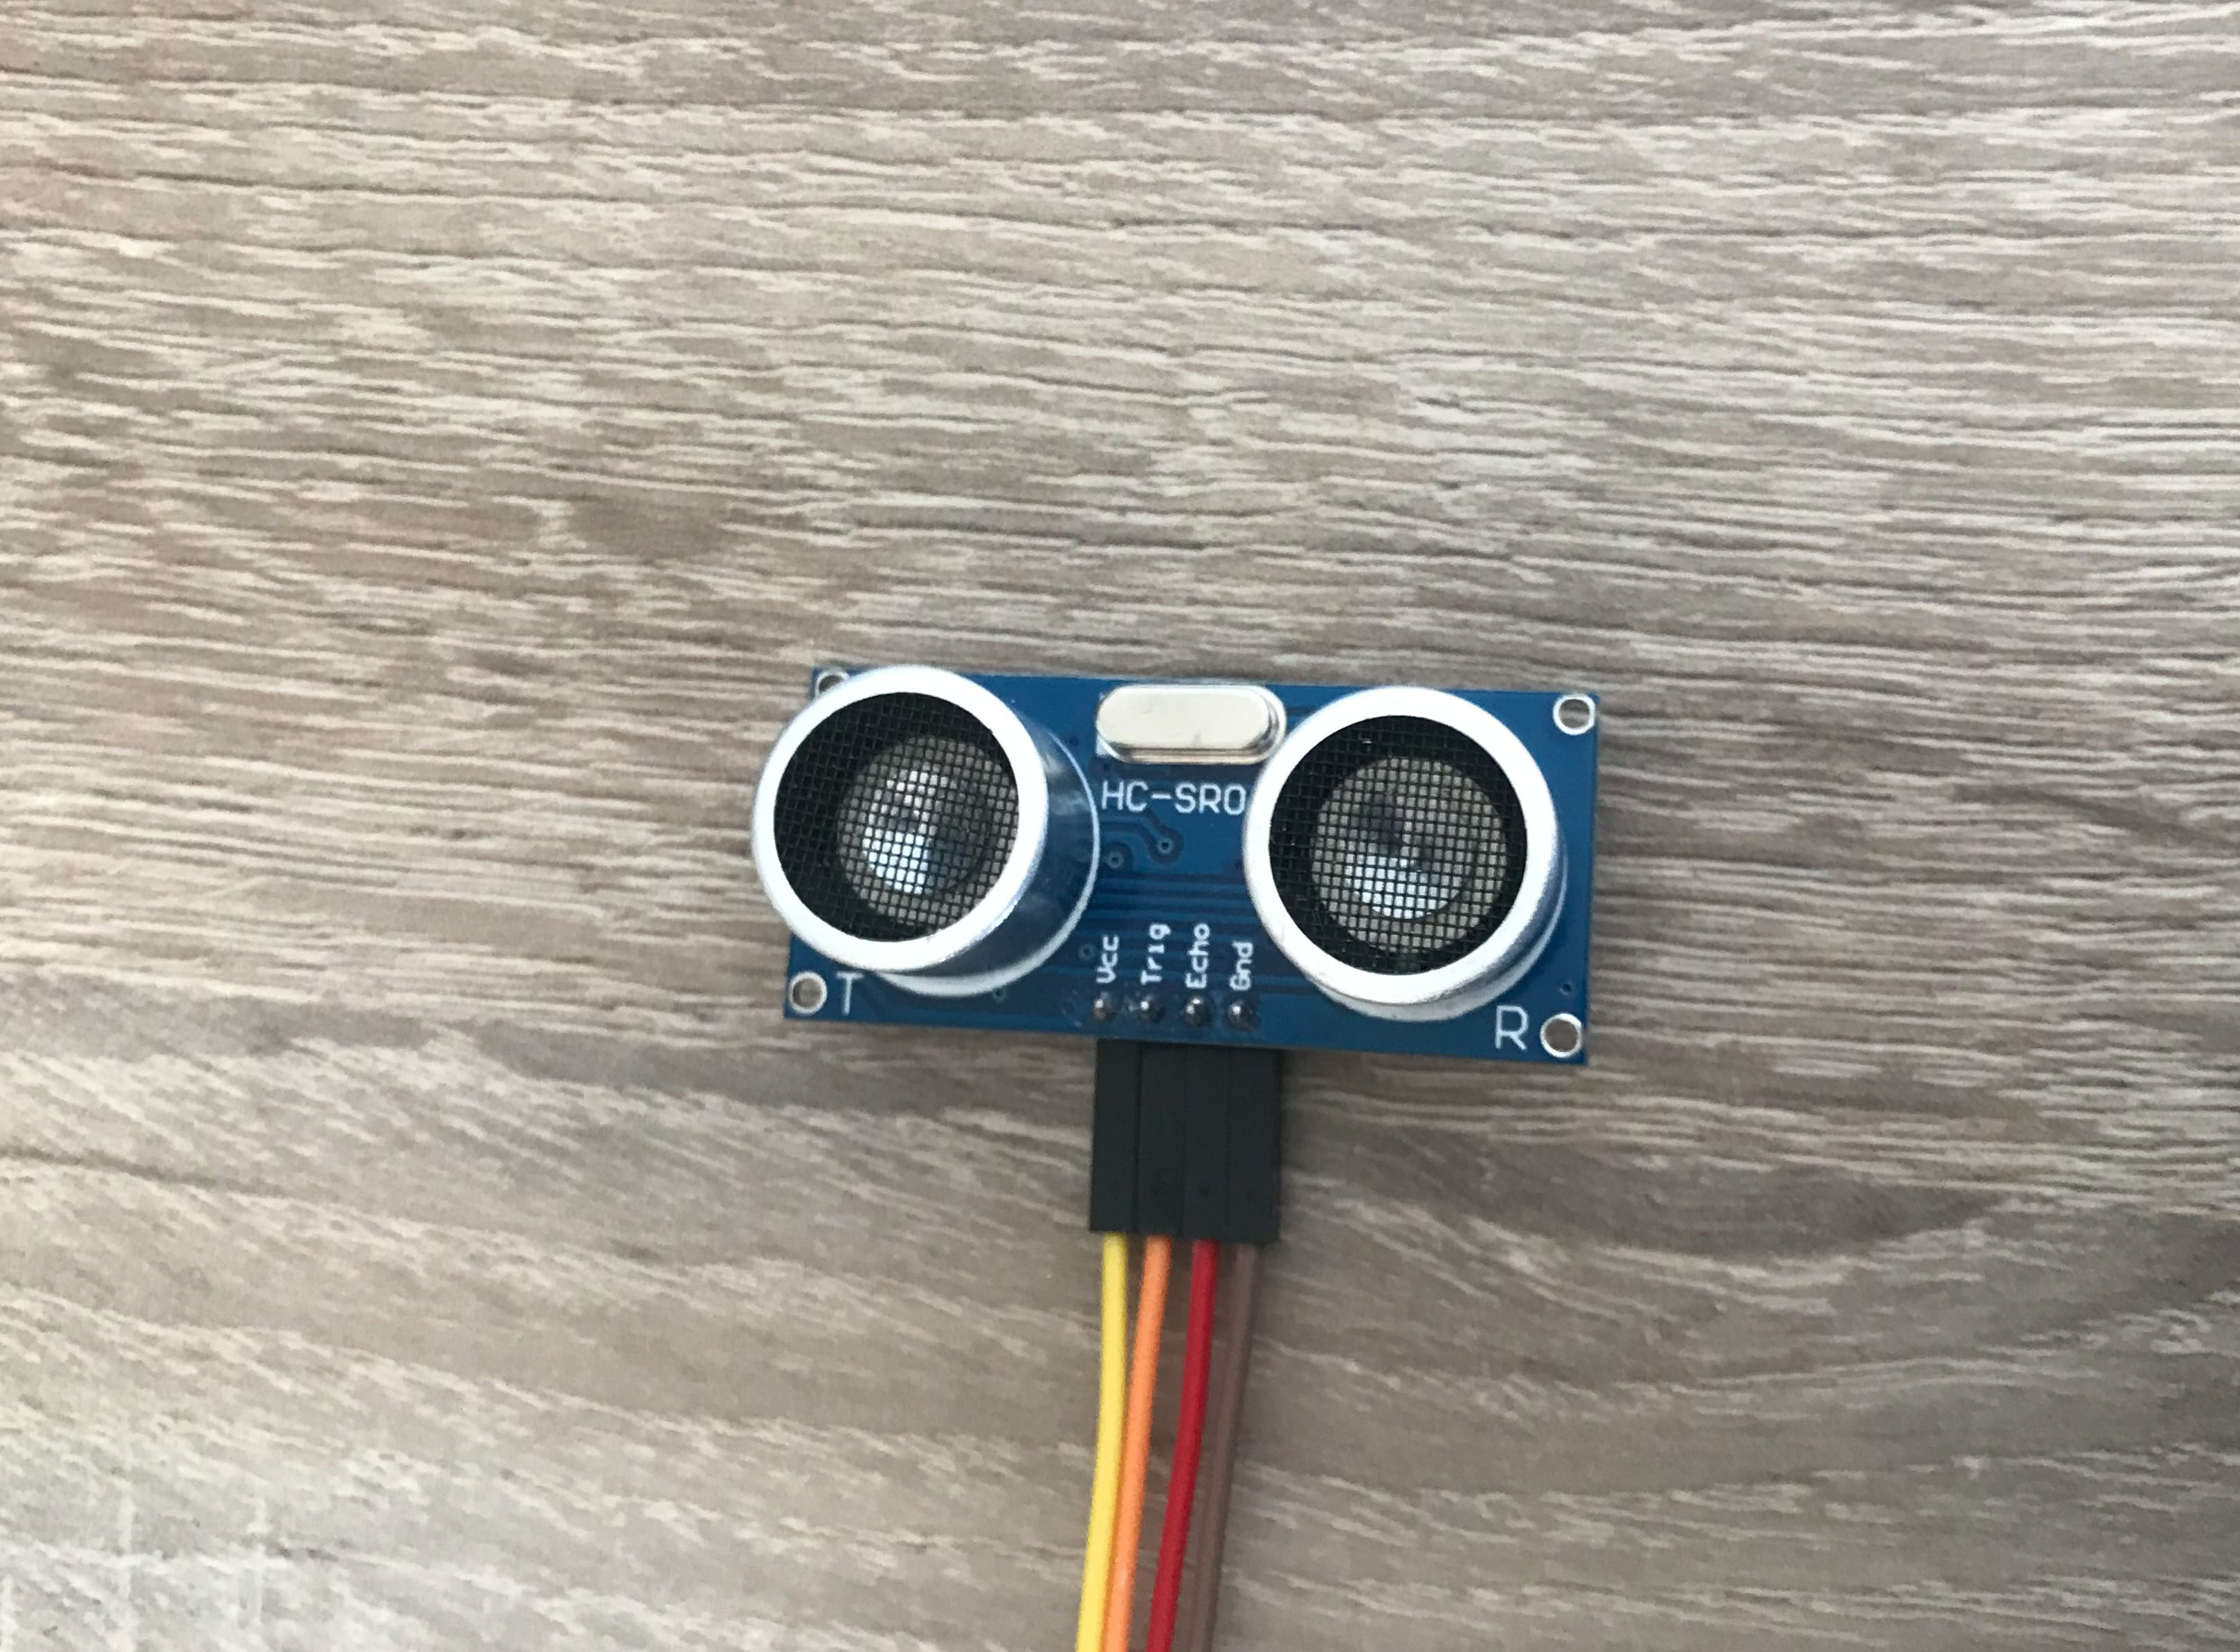
Then we take the ultrasonic sensor:
Step 6:
-
And attach the crimp cables to it:
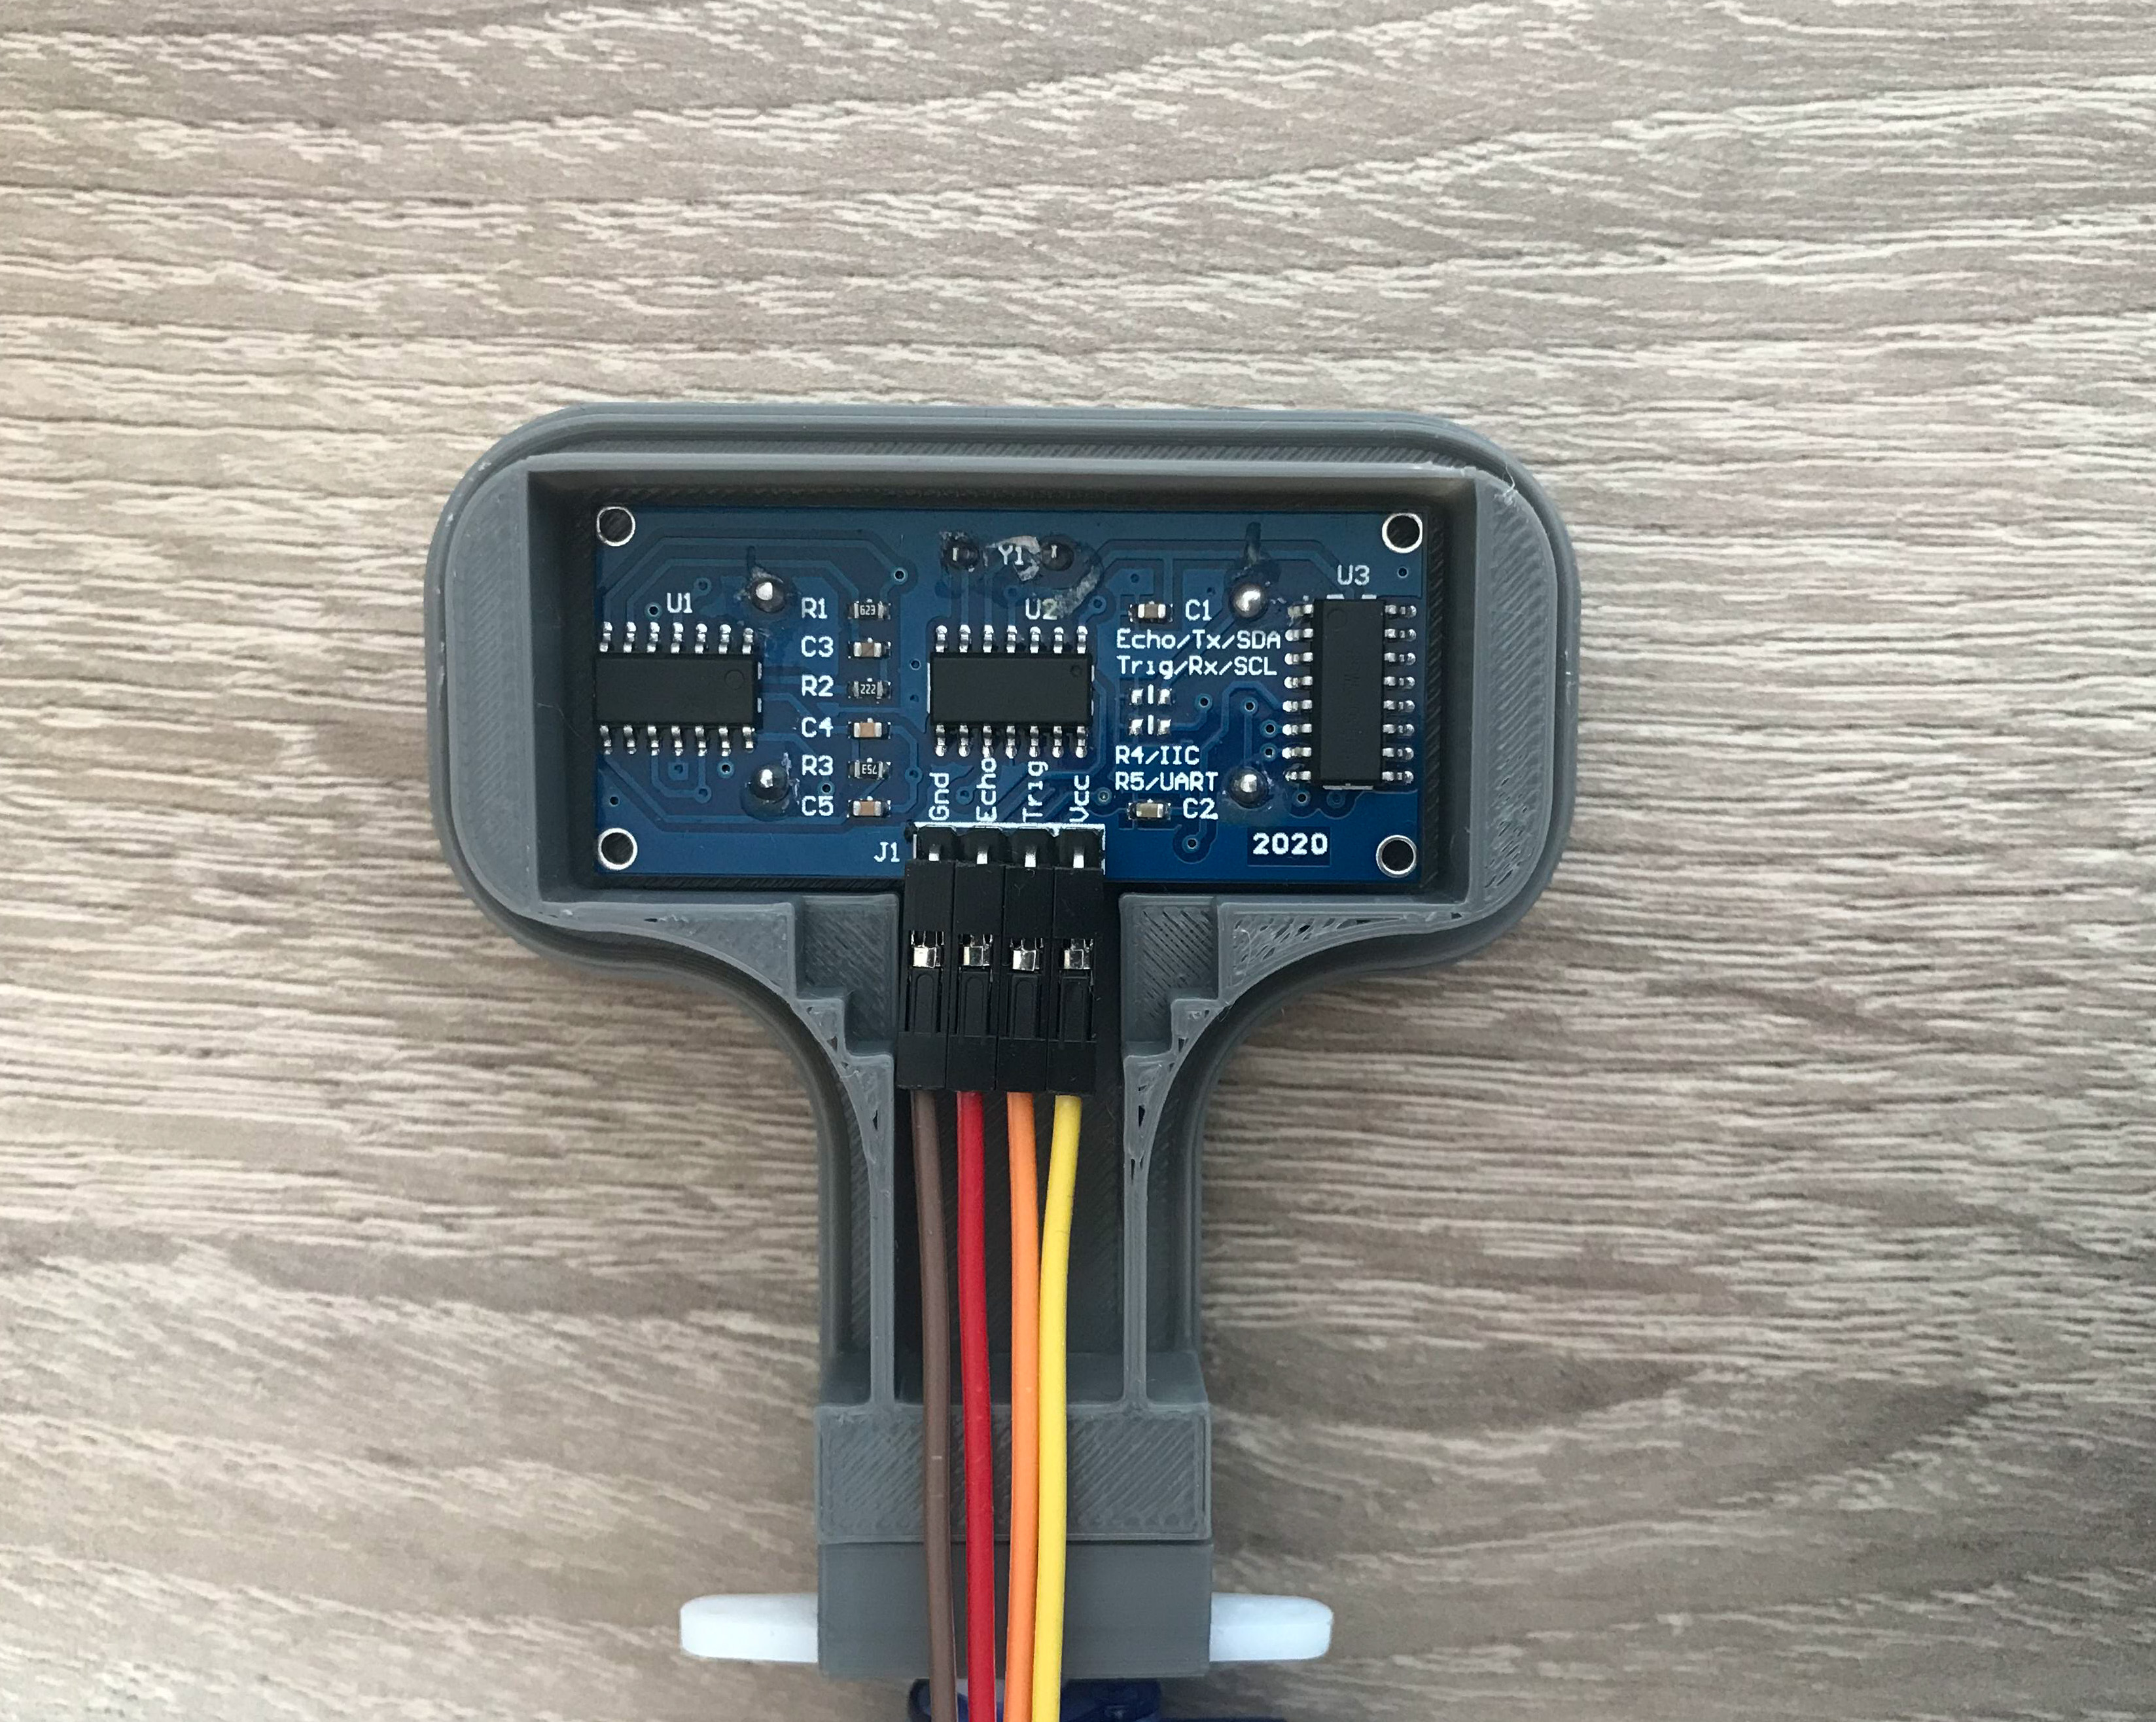
Step 7:
-
The next step is to insert the ultrasonic sensor into the sensor section of the housing:
Step 8:
-
The last major step is to put the led strips on the cover:
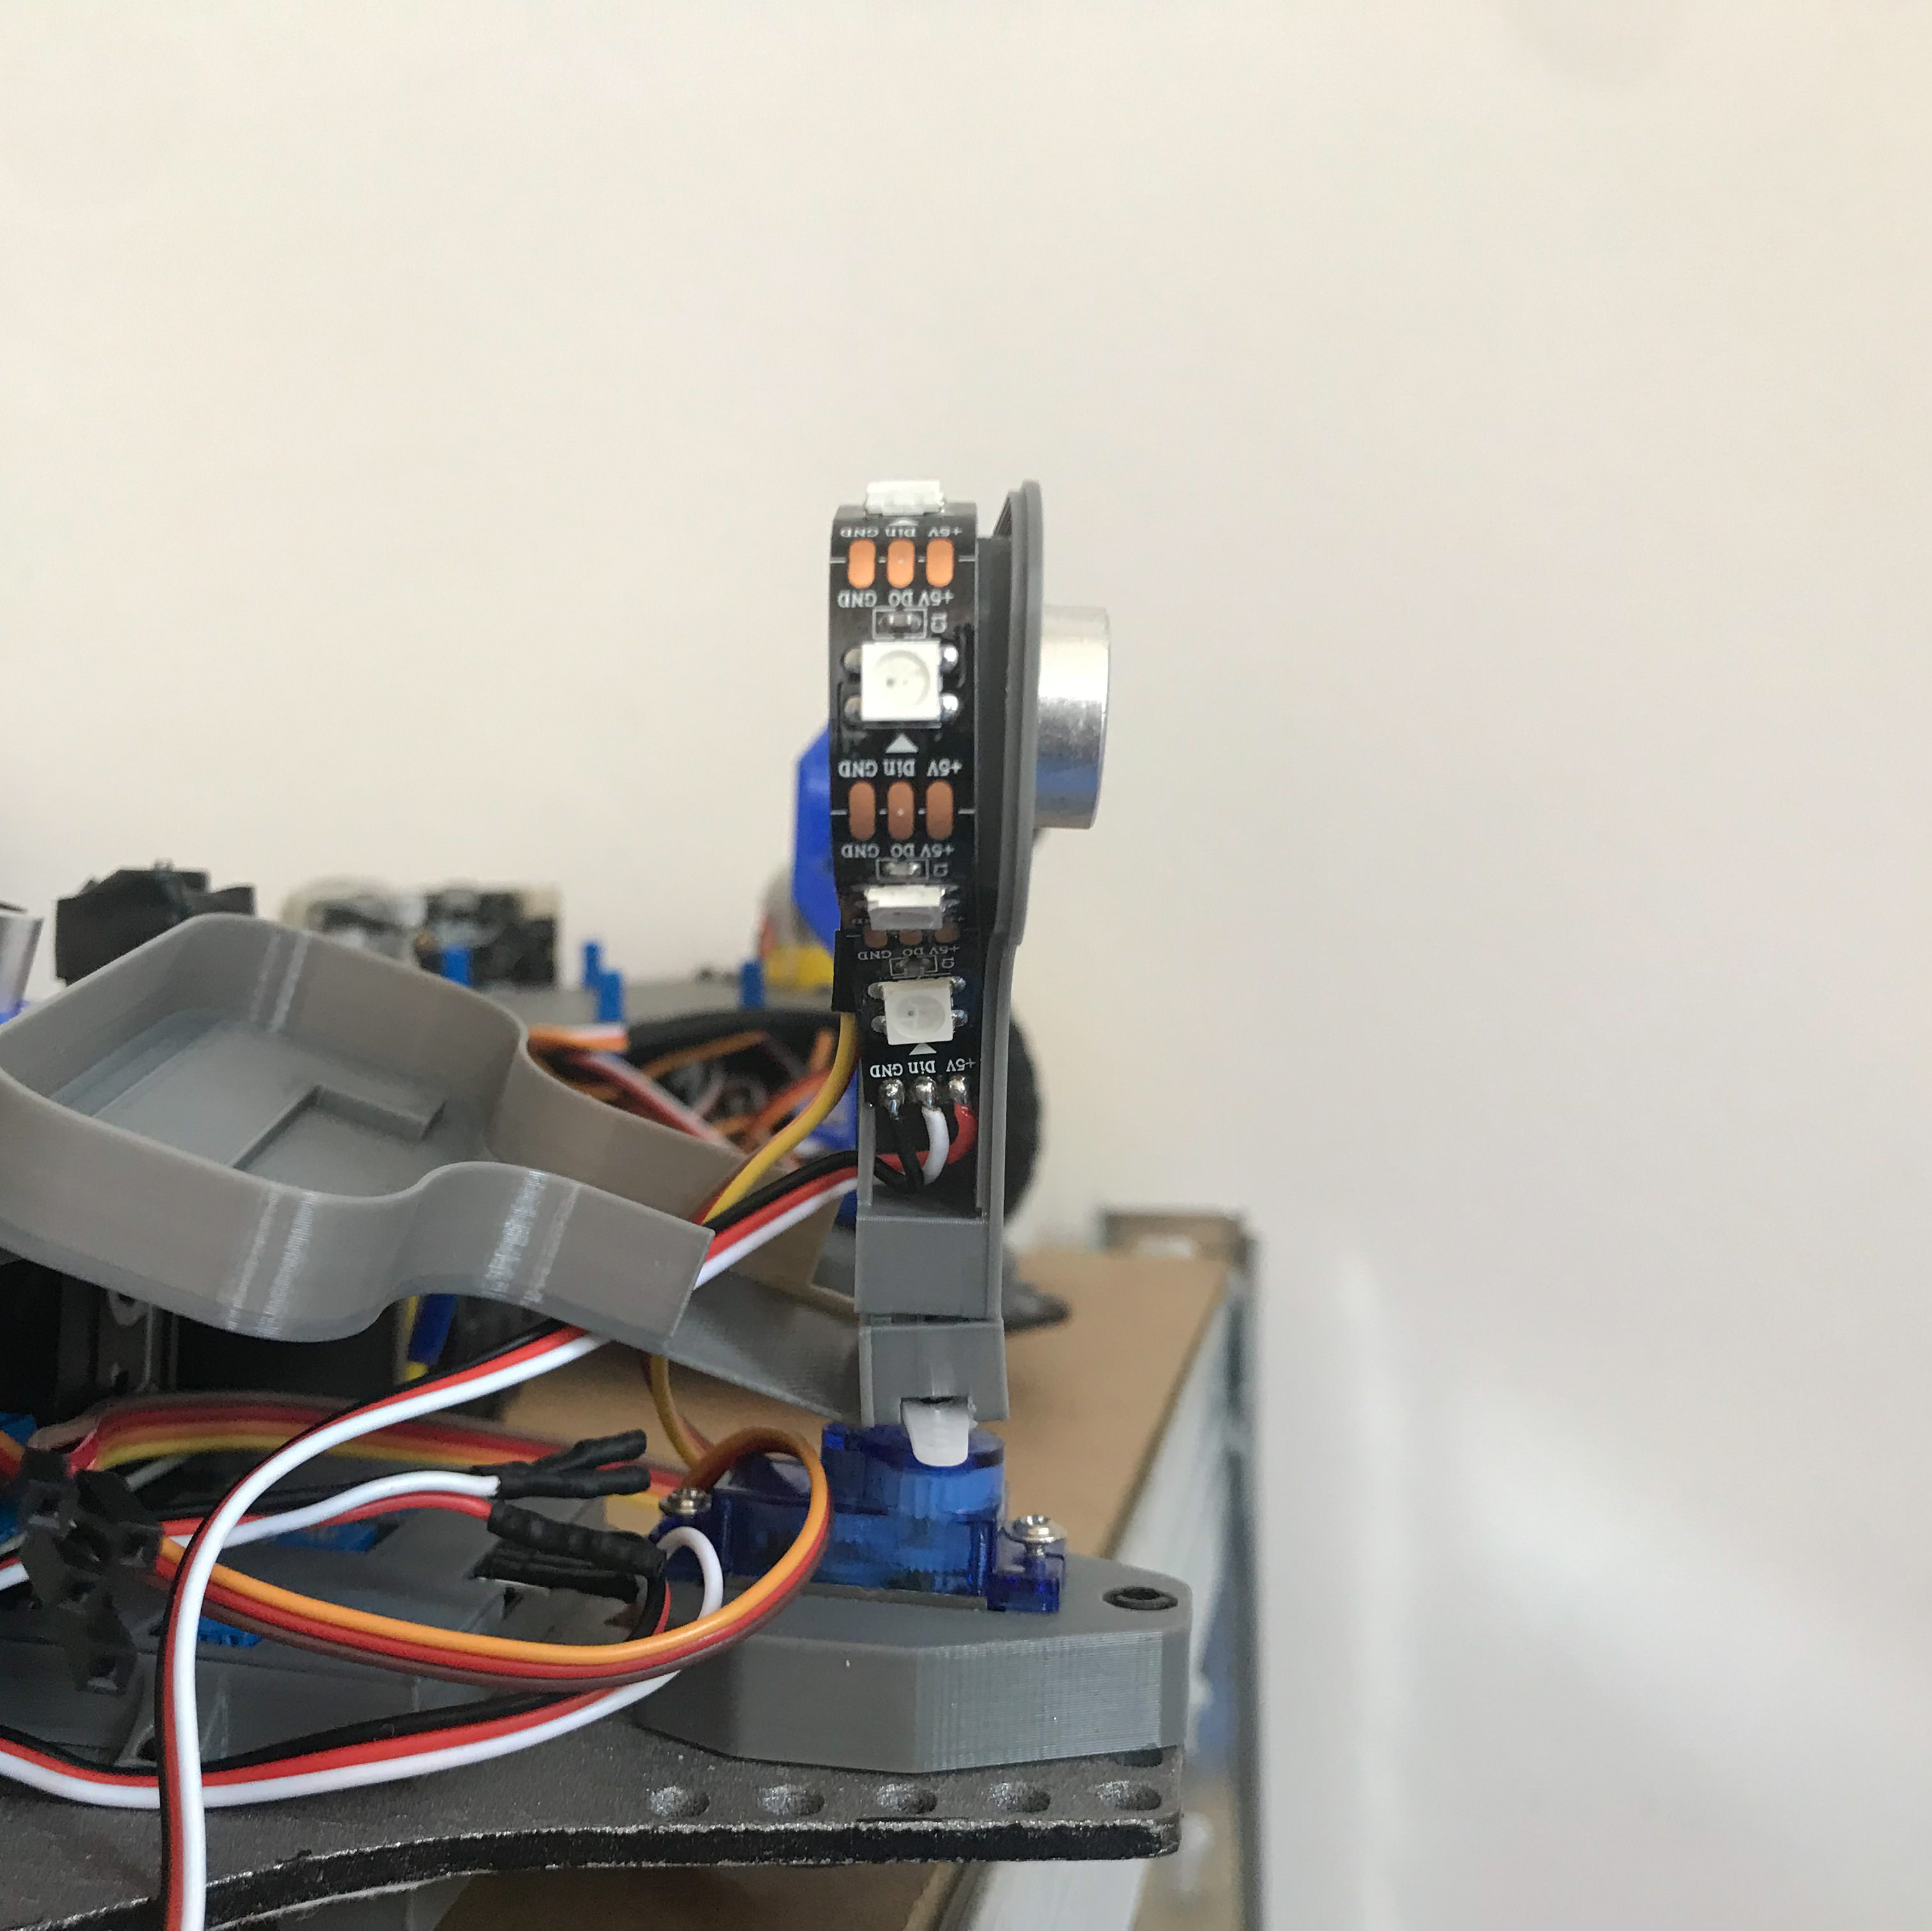
Step 9:
-
And now we cover everything with the lid and we're done:

朋友,你觉得上面这个模型,属于下面的哪个分类?
必须全中文,且长度不超过15
相关内容


联系我们
邮箱: 289047960@qq.com
热门推荐
-
 圆形人行道100毫米2024-03-25
 -
 命运博士头盔2024-03-25
 -
 Quadlock适配器2024-04-19
 -
 AOS 5 O3 无人机天线架 + Foxeer GPS 定位架2024-04-23
 -
 被放逐的雕刻2024-04-24
最热下载
-
 可定制像素珠子照片面板2023-03-26
 -
 Glock 17/34 Solidworks 模型文件2023-04-21
 -
 红米手表4号充电基座2024-03-15
 -
 盐湖插入整理器2024-04-13
 -
 GTA 5 大地图模型2024-04-21
最新模型
-
 丰田22RE发动机Starer电机2025-08-08
 -
 适用于Raspberry Pi5的多功能适配器外壳2025-07-27
 -
 罗技K400键盘壁挂式支架2025-07-27
 -
 HGX lite v2支架2025-07-18
 -
 女式凉鞋2025-07-16